Taking high-quality screenshots in Counter-Strike 2 can help showcase your gameplay, skins, or achievements in a visually appealing way. Maybe you want to capture the perfect moment of a game-winning shot or create a gallery of your favorite skins, knowing how to take clear and impressive screenshots is essential. In this guide, we’ll walk you through the best methods to capture CS2 screenshots, including built-in tools, third-party software, and tips to maximize quality. From using the simple Print Screen key to exploring advanced features like hiding the HUD or tweaking your resolution, this guide has got you covered. Ready to capture the perfect CS2 screenshot? Let’s get started!
Print Screen Key
The easiest and most straightforward way to take a screenshot in CS2 is by using the Print Screen key on your keyboard. This key captures everything displayed on your screen at the moment of pressing and stores it in your clipboard, ready for pasting into an image editing program like Paint or Photoshop.
How to use the Print Screen Key:
- Press the Print Screen (PrtScn) key while playing CS2.
- Open any image editing software (Paint is a built-in option for most).
- Paste the screenshot by pressing Ctrl + V.
- Save the image in your preferred format (e.g., PNG or JPEG).
While this method is quick, it doesn’t offer flexibility or quality options like dedicated screenshot tools, which we’ll cover next.
Screenshot Tools
There are several tools and platforms available for capturing high-quality CS2 screenshots beyond the default methods. Here are some popular tools you can use for capturing in-game images, including skins and in-game moments:
Steam’s Built-in Screenshot Tool
Steam offers a convenient way to capture screenshots in any game, including CS2. Simply press F12 (the default key) during gameplay, and Steam will save the screenshot to your Steam library.
How to download Steam screenshots:
- Press F12 while in-game to take a screenshot.
- Open Steam and go to the View menu.
- Select Screenshots to view, manage, and download your saved images.
Disabling HUD for Screenshots
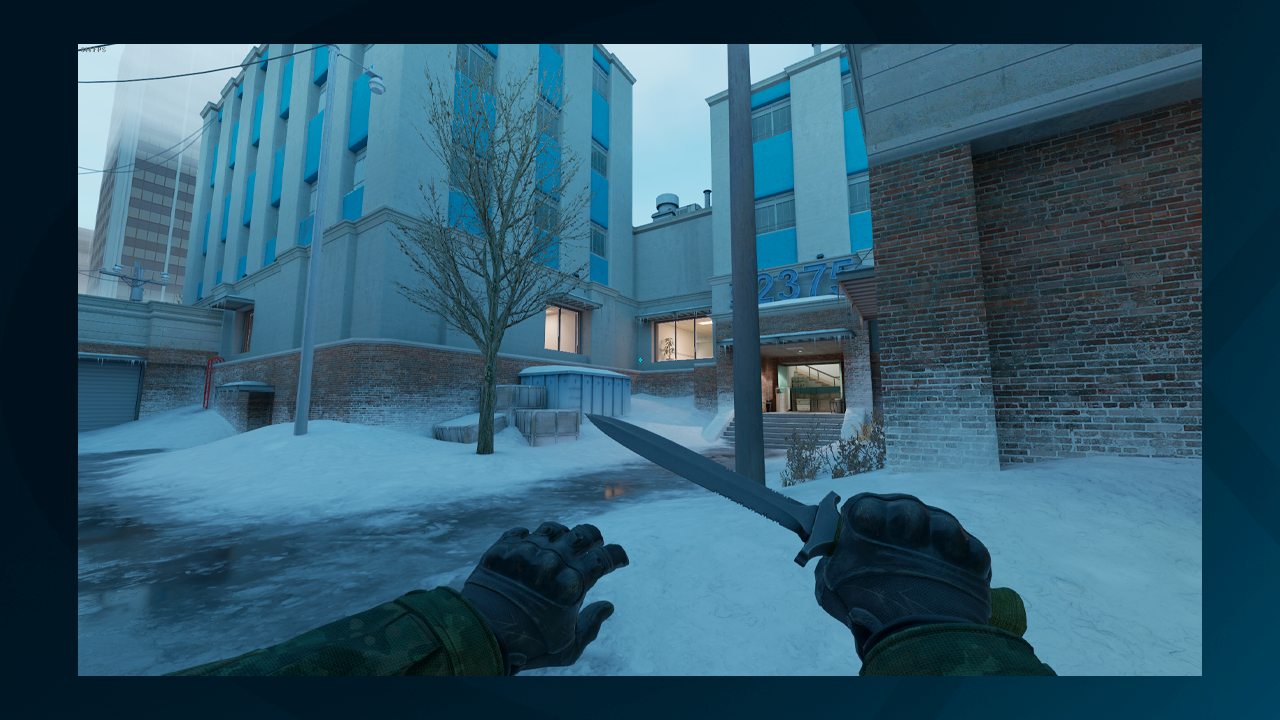
To capture clean, cinematic screenshots in CS2, it’s important to disable distracting on-screen elements such as the HUD.
How to disable HUD for screenshots:
- Open the in-game console by pressing ~.
- Type cl_drawhud 0 to hide the HUD.
Removing the HUD allows for clearer, professional-looking images that focus on the skin or action without clutter. Also read our guide on how to hide or change HUD in CS2.
Maximizing Resolution Settings
A crucial part of getting high-quality CS2 screenshots is optimizing your resolution settings. Both your in-game settings and external tools like the Nvidia Control Panel can boost the quality of your captures.
- Open the CS2 settings menu and navigate to the Video tab.
- Set the resolution to the highest your system can handle (e.g., 1920×1080 or higher for 4K screenshots).
- If you have an NVIDIA GPU, open the Nvidia Control Panel: Go to Display > Change resolution. Set the resolution to your monitor’s maximum or create a custom resolution if desired.
By increasing the resolution, you’ll achieve sharper images that look great even when zoomed in or edited.
You may also be interested in our article on the best CS2 resolution. Learn which settings give you the competitive edge in our expert guide to the best resolution choices.
Viewmodel Adjustments
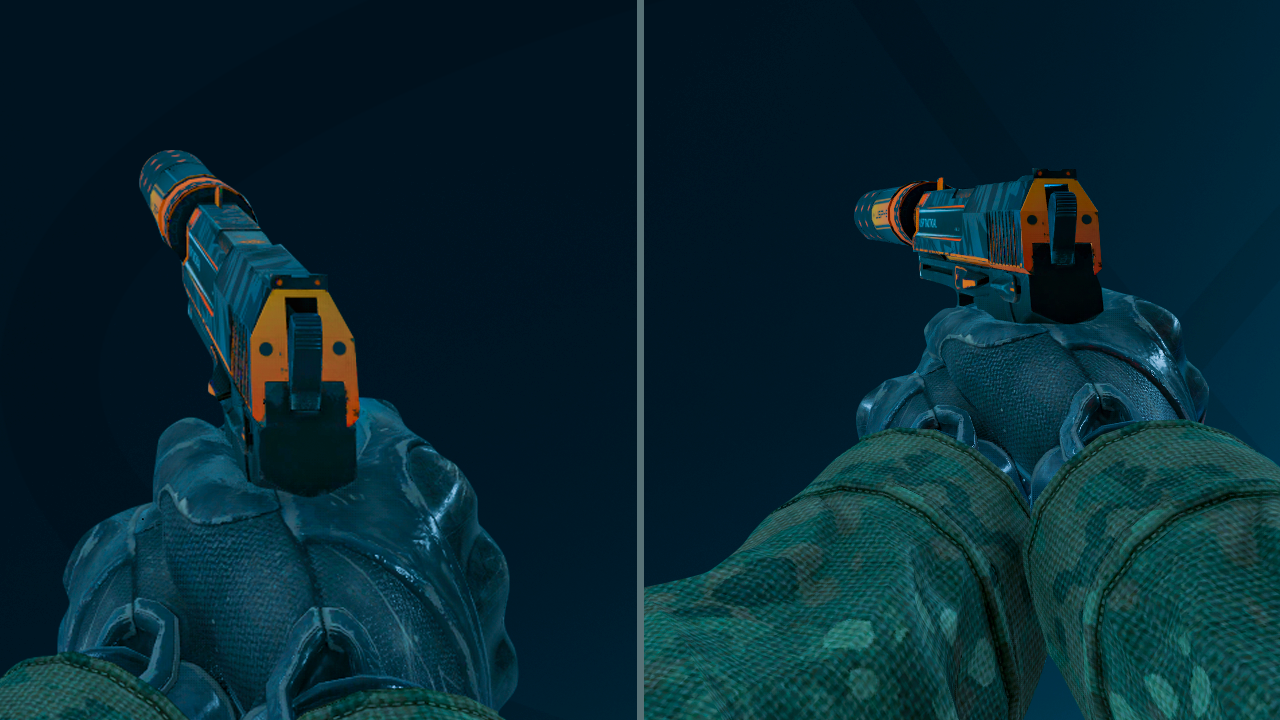
To capture the perfect angle of your weapon or skin in CS2, you’ll need to adjust the viewmodel. This refers to the way your weapon is displayed on screen and can be customized via console commands.
Open the in-game console and use the following commands to tweak the position of your weapon:
- viewmodel_offset_x (adjusts horizontal positioning)
- viewmodel_offset_y (adjusts vertical positioning)
- viewmodel_fov (changes the field of view)
Experiment with these settings to find the angle that showcases your weapon or skin in the best light. You can also lower the viewmodel entirely for screenshots that focus on the environment.
Master CS2 FOV and viewmodel commands with our comprehensive guide. Optimize your field of view and in-game perspective for improved gameplay.
Make Your Perfect Screenshot Today
So now you’re armed with all the info you need to capture stunning CS2 screenshots. Don’t forget about all the little tweaks like disabling the HUD for a cleaner look, adjusting the viewmodel for better angles, or bumping up the resolution for crystal-clear images. And even if you don’t own a skin, you can still generate it for a perfect screenshot using inspect links or commands. The possibilities are endless, and now you’ve got the knowledge to create screenshots that show off your best moments and skins. So, go ahead, experiment with these tips, and start capturing and sharing those unforgettable CS2 moments!



![kyousuke CS2 Settings: Full Guide [2025]](https://skin.club/community/wp-content/uploads/2025/08/Main-x-Name.jpg.webp)
