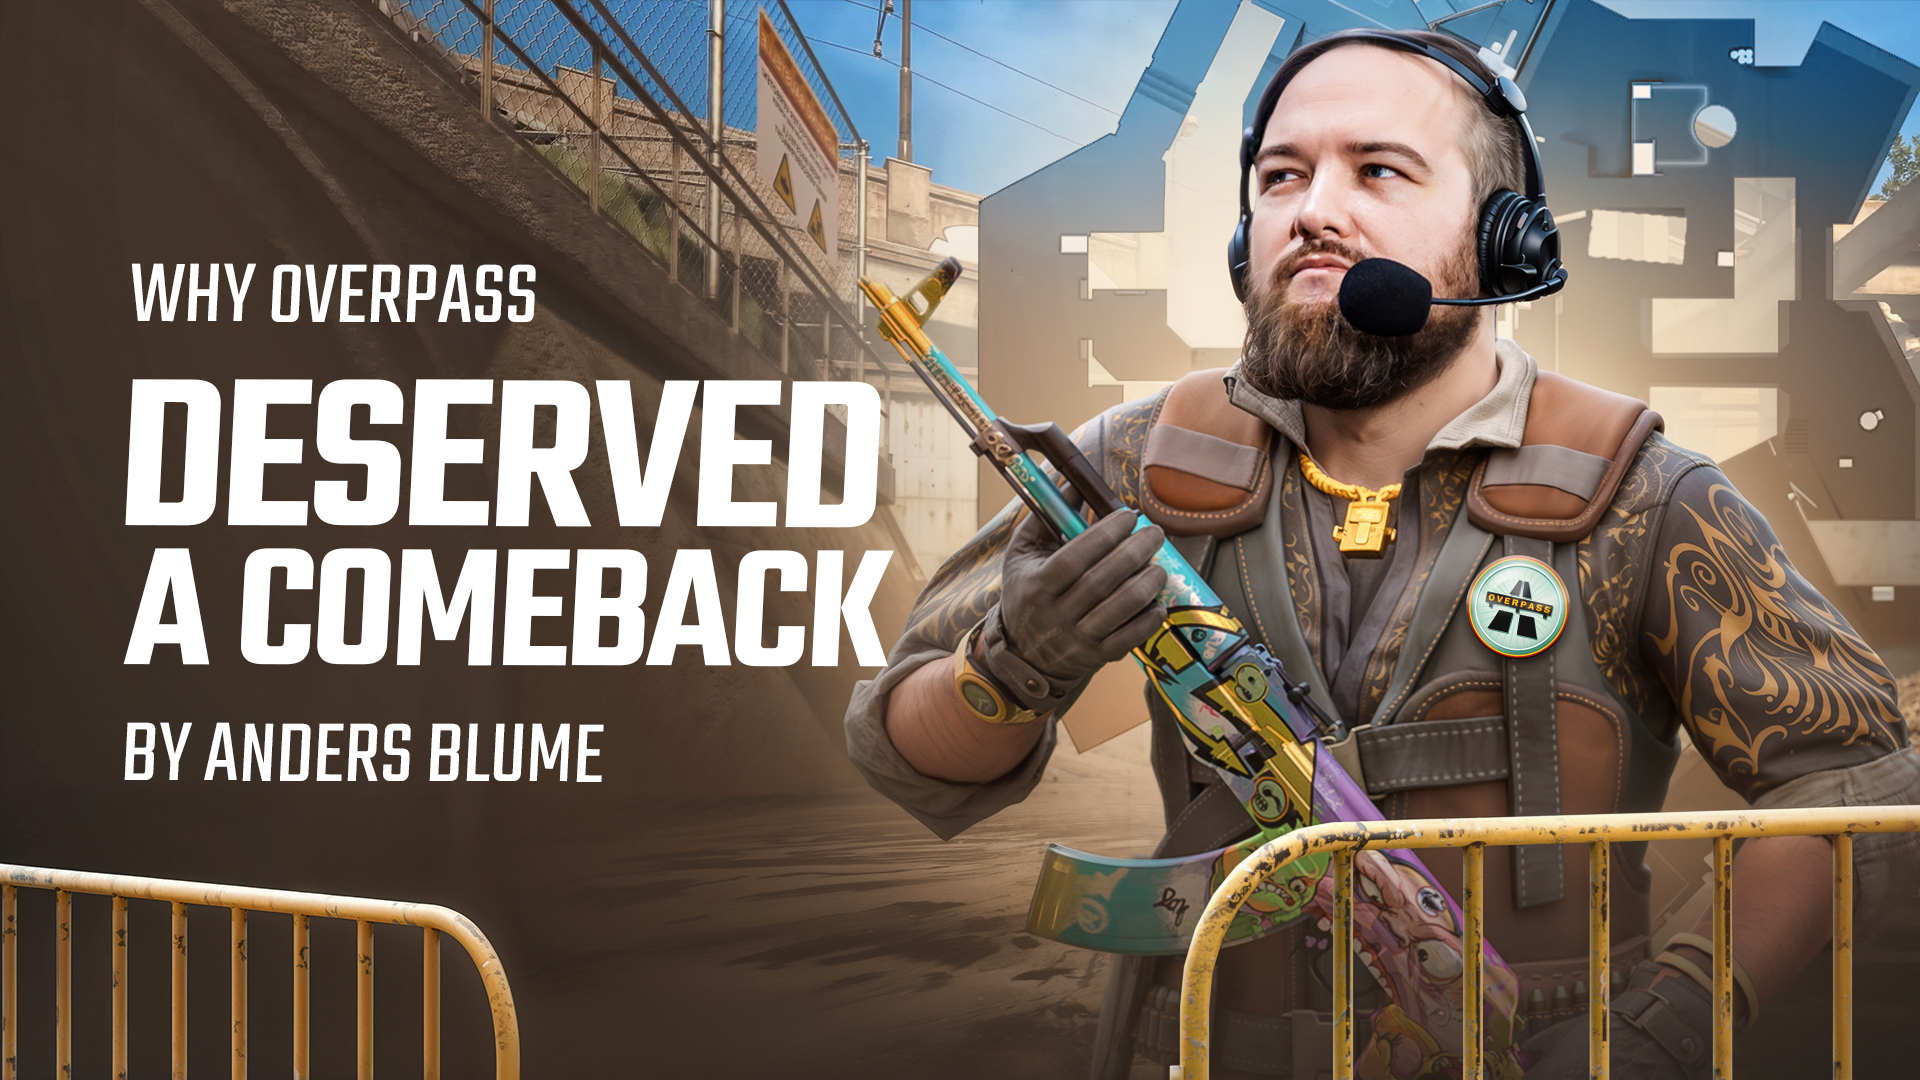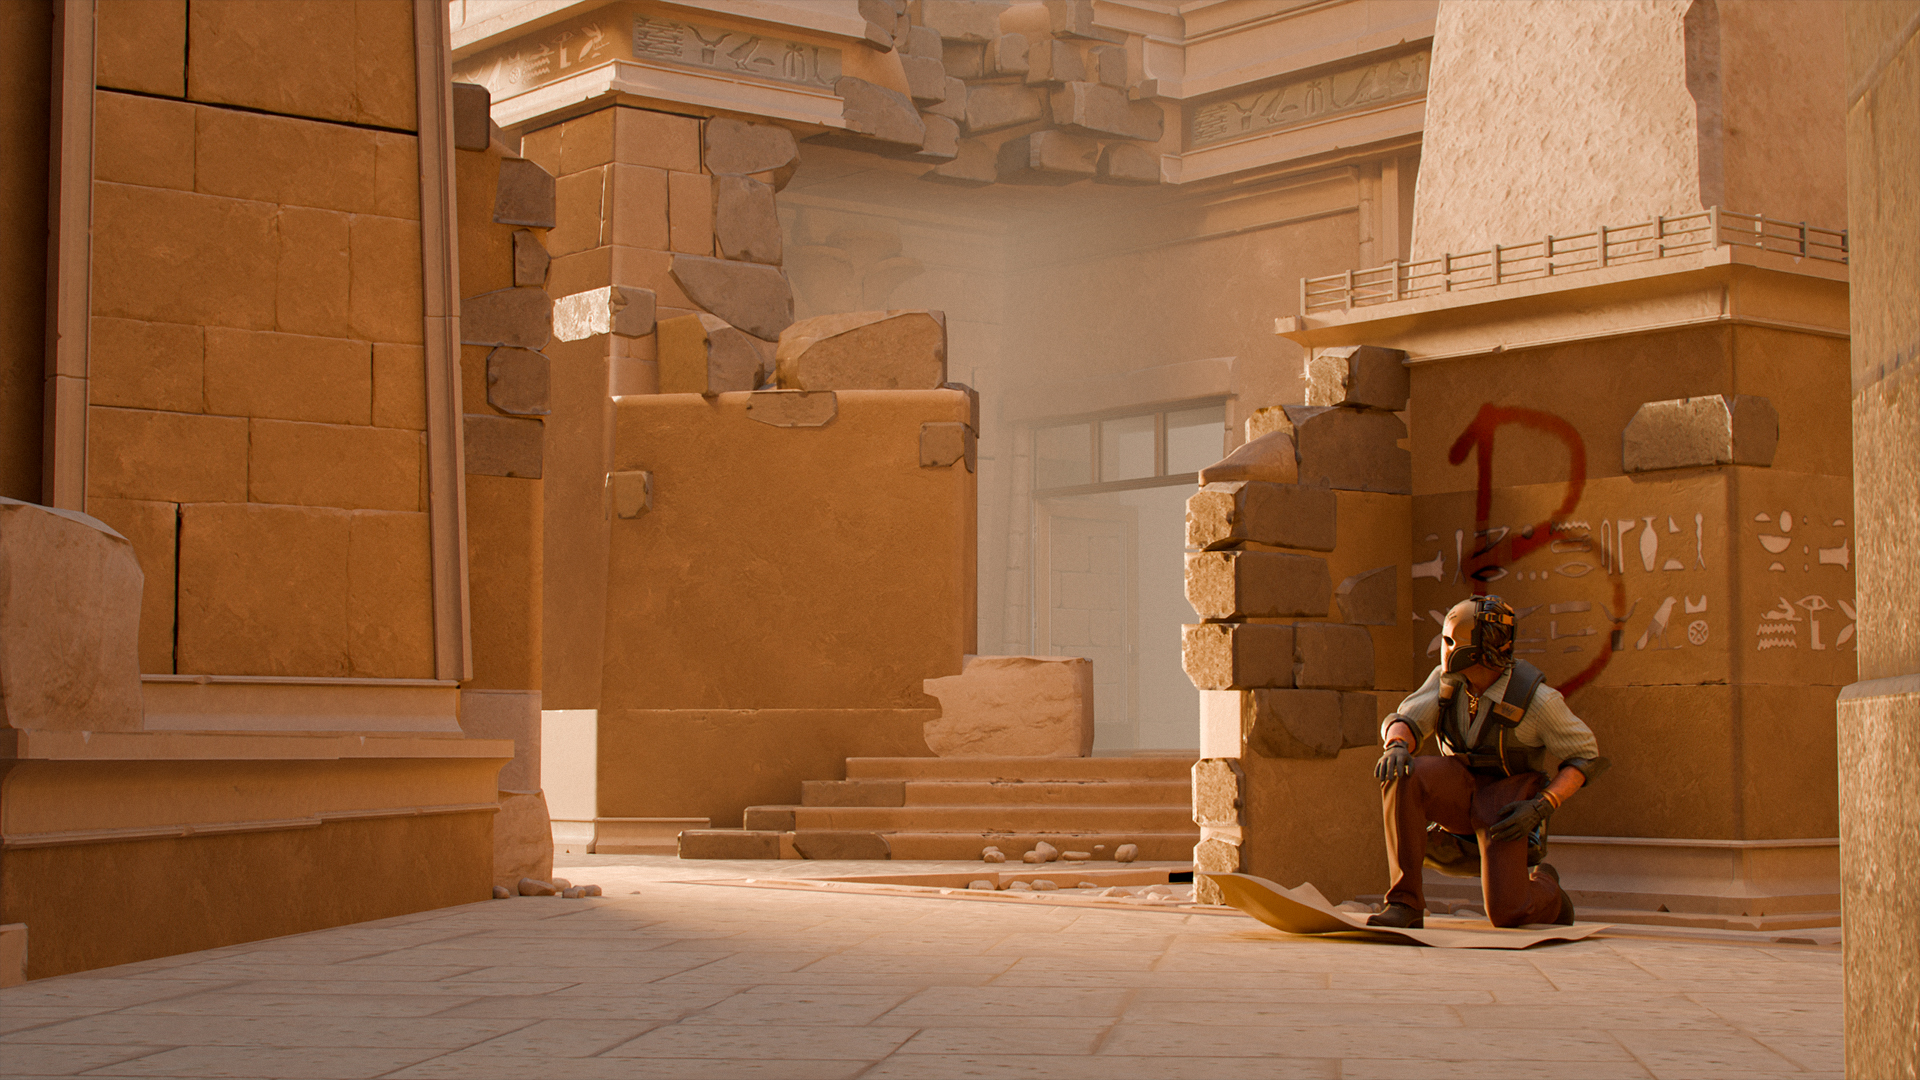
In Counter-Strike 2, communication is everything. A well-coordinated team with precise callouts can turn the tide of a match, while miscommunication often leads to unnecessary losses. One of the most visually stunning maps in the game, Anubis, offers a dynamic mix of open spaces. It’s characterized by its sandy-stone terrain, adorned with enigmatic symbols etched onto walls, all beneath the radiant embrace of sunny skies. With several levels, tiny passways, and clever angles that might surprise players, Anubis has a distinct design. Whether you’re attacking, defending, or rotating between bomb sites, being able to relay accurate information in real-time is a crucial skill. In this guide, we’ll describe all the Anubis callouts that will definitely be useful for you to communicate with your team.
Mastering Anubis Map Callouts
Anubis is a community-designed map that made its debut in Counter-Strike in 2020 and has since carved out a solid place in both casual and competitive play. What sets Anubis apart from other maps is its stunning setting—an ancient Egyptian-inspired terrain complete with towering sandstone structures, fascinating sculptures, and vestiges of a lost civilization. Anubis is a flexible playground for many playstyles since its design presents a dynamic mix of long-range engagements and close-quarter fights. Ts have multiple entry points and flanking routes to explore, while CTs must carefully manage their positioning to hold key choke points and deny bombsite control.
Since its introduction, Anubis has steadily gained popularity, earning its place in the active map pool and being embraced by both casual players and professional teams. Its unique environment, which combines stunning visuals with well-balanced tactical depth, challenges players to adapt and refine their strategies. Many people might find this map challenging, but if you learn where your opponents are most likely to push, know all the key callouts, and can accurately convey information to your teammates, you’ll love Anubis just as much as we do. Also check out our guide on Ancient callouts in CS2 and become a pro at some of the most difficult maps.
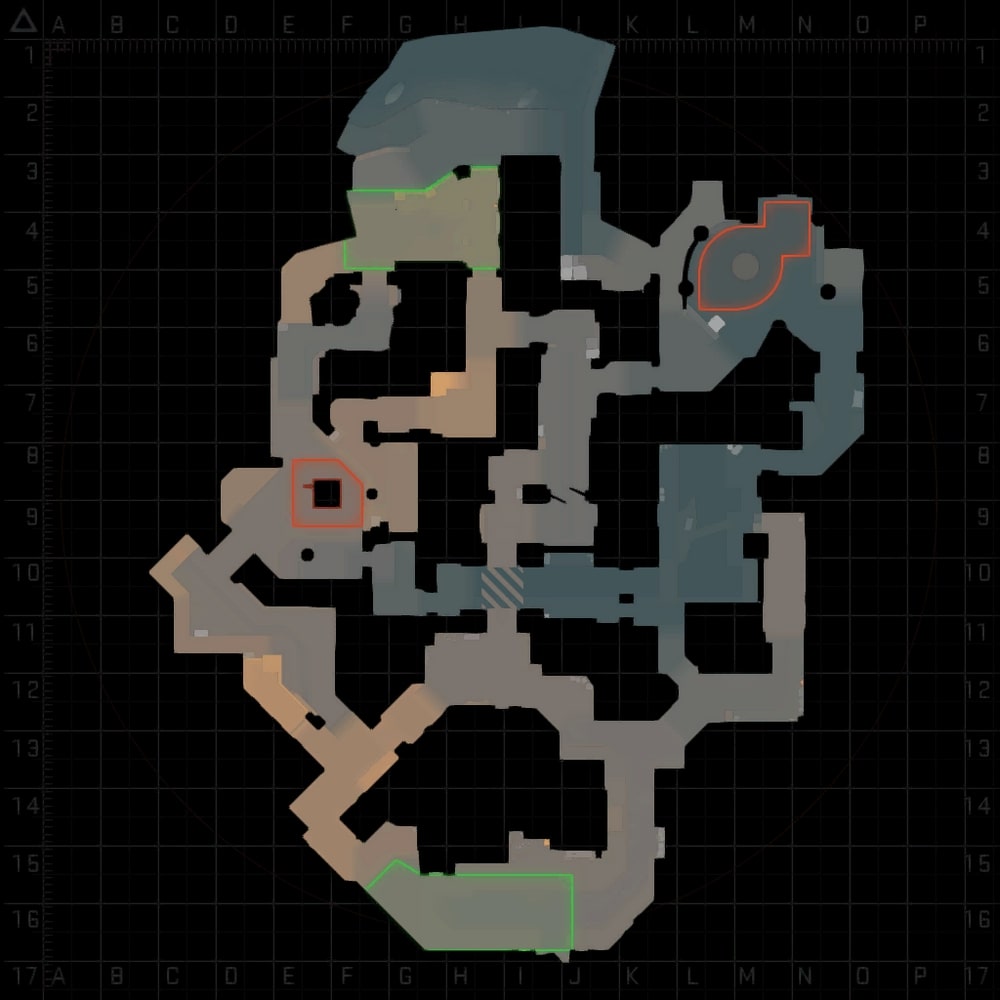
Anubis A Site
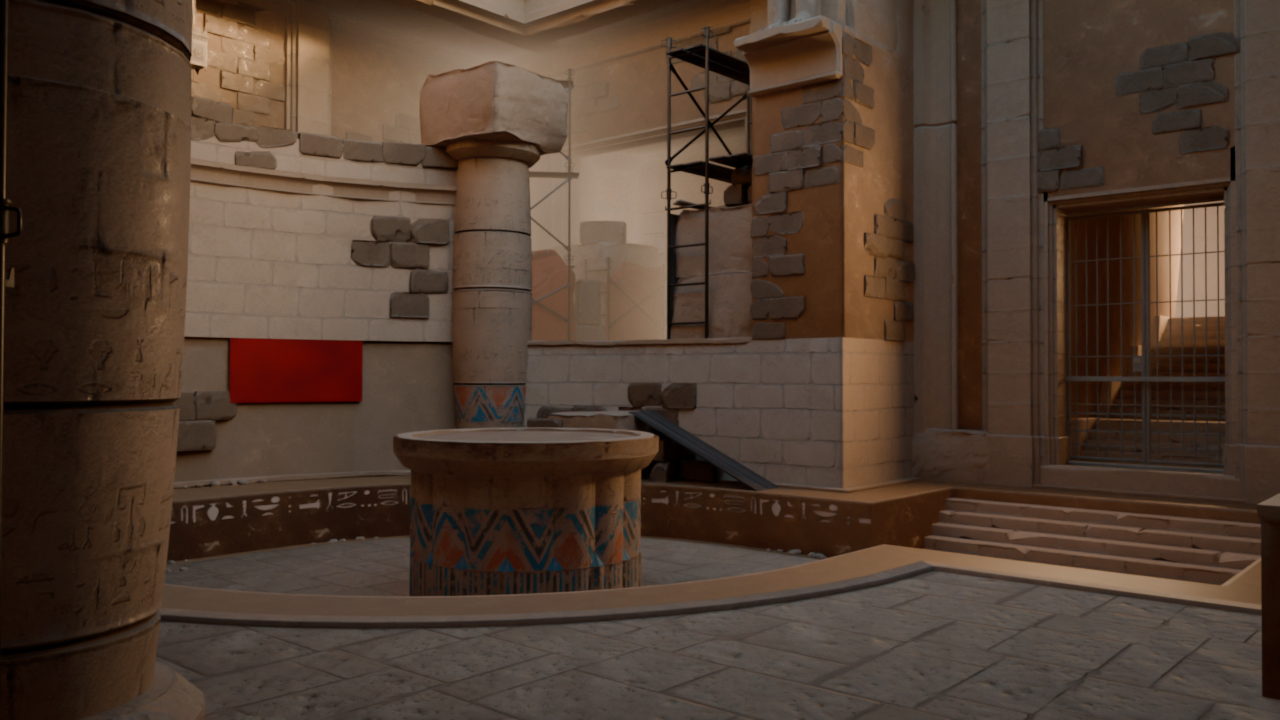
A Site on Anubis is one of the most challenging yet rewarding areas to hold and execute onto. It offers a mix of close-quarters combat and longer sightlines for AWPers.
- A Main: The primary entryway from T side leading towards A Site.
- A Site: The standard bomb plant area at A.
- Heaven (Nine): The raised position above A Site, offering a strong vantage point.
- Fountain: The small pool area near A Site, offering an alternative approach.
- A Connector: The passage leading from Mid to A Site.
- Plateau: The wide area leading from A Connector to A Site.
- A Backsite: The defensive position at the far end of A Site.
- Tunnel: The wide corridor leading from CT Spawn to A Heaven.
Anubis B Site
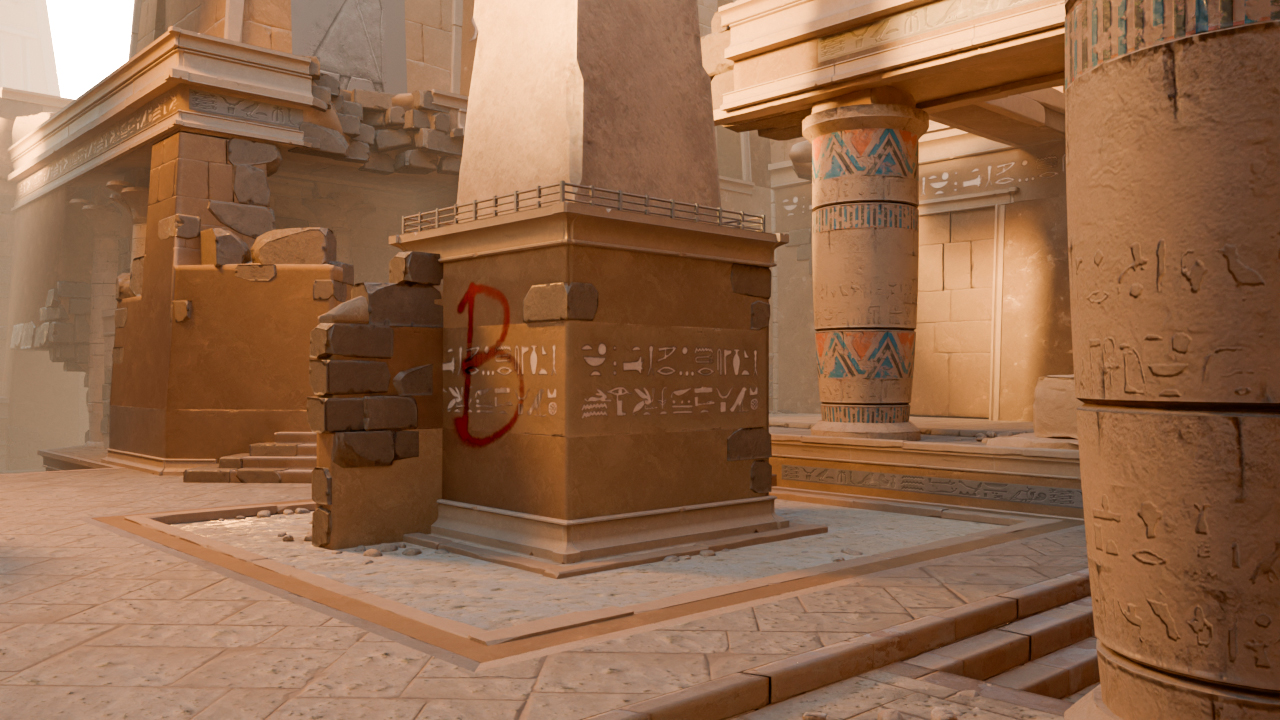
B Site on Anubis provides multiple angles for both attacking and defending. It has a mix of elevated spots and enclosed spaces, making it a complex area to clear and hold.
- B Gate (B Main): The main pathway leading from T spawn to B Site.
- B Site: The standard bomb plant area at B.
- B Pillars: The pair of large pillars that provide solid cover for defenders.
- Ninja: The enclosed corner near the B Site that CTs often hide behind.
- Palace: The large area connecting B Site to Mid and СT Spawn. Often used by CTs for defense.
- Cave: The passageway leading from СT Spawn to the B Site.
- Street (CT): The long uncovered pathway used for direct attacks from CTs.
- Sniper: The elevated location close to the CT Spawn, where you can see the Ts in case they plant the bomb.
- Corner: The triangular spot where CTs can hide when defending B Site, or Ts when defending the planted bomb.
- Connector (E Box): The connection point from Water to B, crucial for rotations.
- B Long: The large area leading from Ruins to B Site. This is where Ts most often come from when they want to plant the bomb on B Site.
- Catwalk: The elevated spot next to B Long, allowing Ts to wait for aggressive pushes from CTs when they come out of B Gate.
- Ivy: The small area from which Ts can monitor whether there are CTs at the B Site.
Anubis Mid

Mid control on Anubis is essential for both T and CT sides, as it provides access to both bombsites and rotation routes.
- Mid: The central area on the CT side near Double Doors, crucial for CT control.
- Bridge: The central bridge connecting Mid to other areas. Located above Water and has an open way down with no stairs.
- Top Mid: The side of the mid that’s closer to T Spawn. Used by Ts for pushes to get to the A Site.
- Mid Doors: The primary entryway leading into Mid from Bridge.
Other Key Anubis Callouts
Apart from Mid and the bombsites, a number of additional locations on Anubis are essential for rotations and strategic maneuvers. These locations are just as important for callouts and effective team coordination.
- T Spawn: The Terrorist starting position.
- CT Spawn: The Counter-Terrorist starting position.
- Water: The key area near both bombsites where sound cues can reveal enemy movement. From here Ts can either enter A Site or rotate to B Site.
- Boat: The large area filled with water which is close to A Main. A rather open position that you can’t stay in for too long.
- Ruins: The large space which allows you to exit T Spawn and enter B Long or Top Mid.
- Alley: The corridor that allows access to Top Mid, Upper or Stairs.
- Upper: The path through which Ts can quickly get to the Boat and walk to the A Site.
- Stairs: The fairly enclosed narrow stairs leading to Water or Boat, from which Ts can carefully track enemies.
- Drop: The wooden ledge next to Upper and Boat from which you can see a part of Water.
- Wood: The wooden location near Water, often used to hide in during a bomb explosion.
- Arches: Two rounded archways leading into the B Connector. At this location you may be spotted from the Bridge or B Connector.
- Beach: The area near CT Spawn, allowing passage to A Heaven.
You can also read our article on CT and T sided CS2 maps. Learn which maps favor Counter-Terrorists or Terrorists for ultimate strategic advantage.
Master CS2 Anubis Callouts for Success
Mastering callouts in CS2 is more than just memorizing names—it’s about using them effectively. Anubis is a map where precise communication can be the difference between winning and losing. Although we’re talking about a big and diversified map, Anubis callouts are unique in that they’re relatively simple to remember. For example, the area filled with water, which is called Water. The more familiar you are with these callouts, the faster you can react, relay information, and make smarter plays with your team. Think about it: if you’re in a clutch situation and your teammate calls out “Heaven,” you need to instantly visualize where that is and react accordingly. That kind of quick decision-making only comes with practice. And not just individual practice—talk with your team, refine your terminology, and make sure everyone understands you. The more you integrate them into your gameplay, the more natural they’ll become.