Nuke, a pivotal map in the CS2 universe, is an integral part of the current map pool for both matchmaking and professional tournaments. With its multi-layered layout, vertical engagements, and twisty corridors, Nuke has a unique learning curve. It’s the kind of map that separates the good teams from the great ones, purely because of how critical callouts and map knowledge are. In contrast to other maps like Dust2 or Mirage, Nuke requires you to control upstairs-downstairs dynamics in addition to typical lane management. Rotations happen quickly, so it’s critical to understand whether a callout is referring to something directly next to you, above you, or below you. In this guide, we’ve collected all possible Nuke callouts so you can learn and use them in your matches.
Nuke Callouts Breakdown
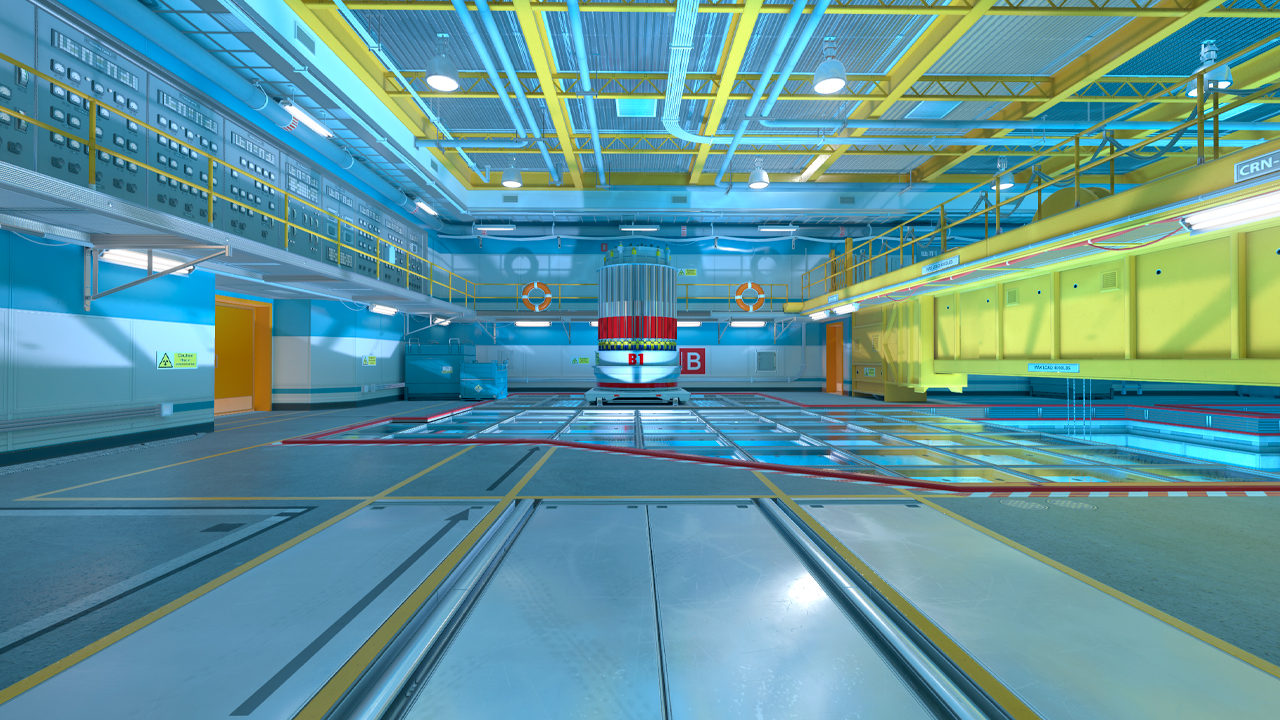
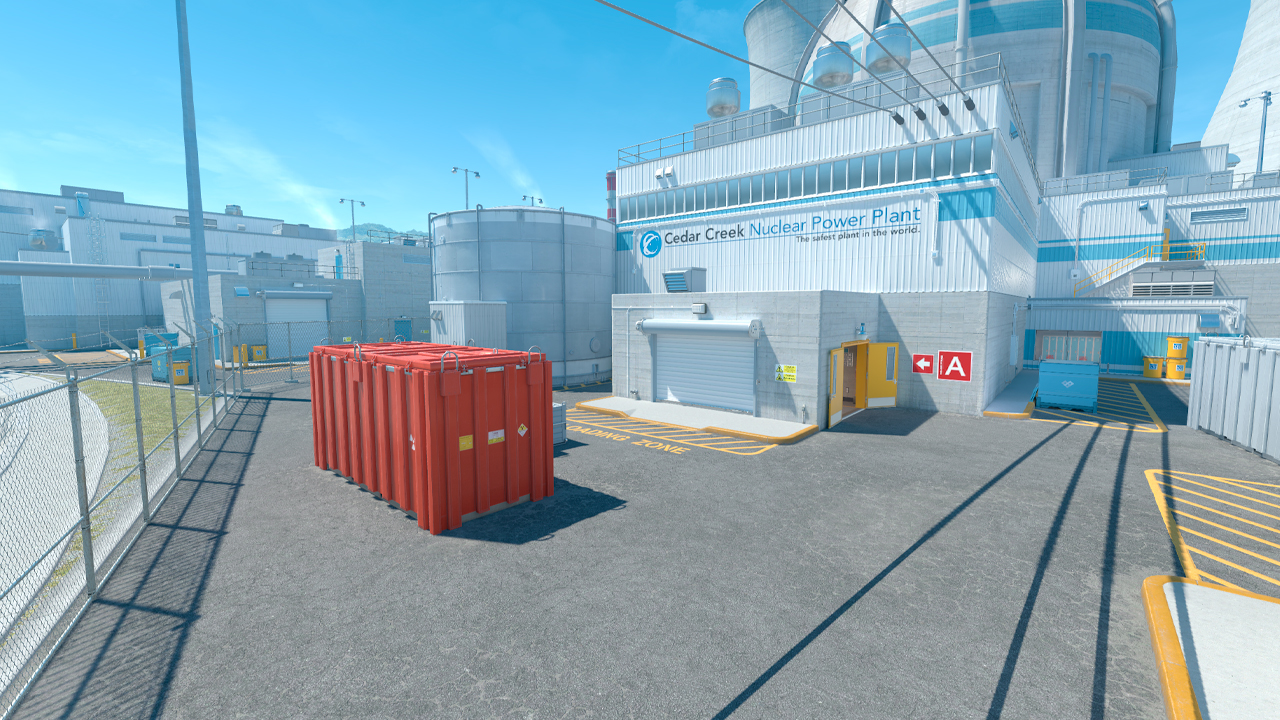
Nuke is one of the most unique and complex maps in CS2. Unlike most maps that follow a fairly horizontal layout, Nuke introduces a challenging verticality, with bombsites stacked on top of each other. This unusual structure means players have to consider not just left and right, but also up and down, making map awareness an even more critical skill. The map’s enclosed industrial theme, set in a nuclear power facility, amplifies its tight corridors and sound-dependent gameplay, where every footstep or door squeak can give away a plan. With multiple access points to both bombsites, fakes and flanks are always in play, rewarding teams that communicate effectively and read the opponent well. Also check out our guide on Ancient callouts in CS2 and become a pro at some of the most difficult maps.
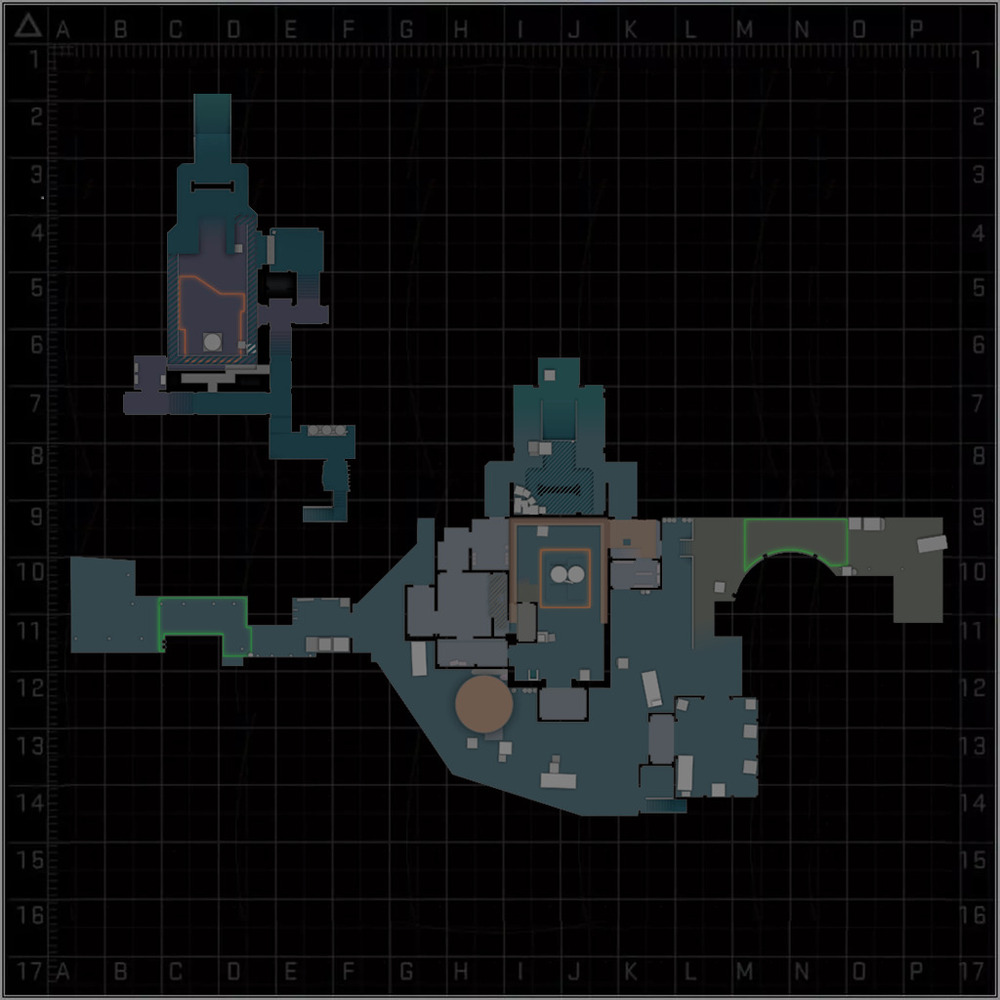
Nuke A Site

A Site sits on the top floor of the main building and is arguably the most contested area during early rounds.
- A Site: The position where the bomb can be planted, located on the top floor.
- Heaven: The elevated platform accessible from CT Spawn, providing a view of A Site.
- Hell: Below Heaven. Offers access to B Ramp and rotates through CT.
- Rafters: The metal beams overlooking A Site, offering strong defensive angles.
- Hut: The small building leading into A Site, commonly used by Ts to push onto the site.
- Squeaky: The squeaky door next to Hut, often used for surprise entries into A Site.
- Main: The entrance leading from Outside into A Site.
- Tetris: The few boxes next to Hut. Can be used as a cover.
- Lobby: The area leading into the main bombsite building, connecting to Hut, Ramp, and Squeaky.
- Trophy: The room with a lot of trophies in it.
- Radio: The room with vending machines inside, which is near Lobby.
Nuke B Site
B Site in Nuke is deep beneath A Site, accessed through multiple paths and notoriously tricky to clear.
- B Site: The position where the bomb can be planted, located on the lower floor.
- Window: The small room with a clear glass window that can be broken.
- Decon (Single): The doorway near B Site, often used for retakes.
- Doors (Double): The double doors leading to B Site.
- Tunnels: The narrow corridor towards Doors.
- Back Vents: The lower part of the vents, closer to B Site, from which Decon and Tunnel are accessed.
- Ramp: The wide and fairly exposed area leading to B Site.
- Bottom Ramp: The lower, more enclosed part of Ramp, providing a view of B Site.
- Headshot: The large box on Ramp that can be used as a shelter.
- Big Box: The area near Ramp that you can hide behind in case of pushes from Control.
- Control: The room between Trophey and Ramp.
- Dark: The enclosed corner often used by CTs to covertly wait for Ts entering B Site.
Nuke Outside
While not a “mid” in the traditional sense, Outside functions as the strategic backbone of the map. Gaining control here gives Ts access to flanks and CTs early intel.
- Outside: One can define the vast area most found on the outside of the structures as such. On this map, it replaces the Mid location.
- Silo: The large silo that can be accessed from T Roof.
- T Red: The red container near T Spawn used for peeking or throwing smokes.
- CT Red: The red container near Garage/Secret. Often used for boosts or counter-peeks.
- Garage: The building overlooking Outside. CTs often anchor here with rifles or AWPs.
- Secret: The hidden pathway leading underground to B.
- Lockers: The area inside the building near Heaven. Offers a flank route or early defensive setup.
- T Roof: The roof that can be accessed from T Spawn using a ladder.
Other Key Nuke Callouts
Beyond the primary sites and mid-area, several other callouts are vital for effective communication.
- T Spawn: The Terrorist starting position.
- CT Spawn: The Counter-Terrorist starting position.
- Vent: The ventilation through which you can get from A Site to B Site and vice versa very quickly.
- CT Box: The box which is close to CT Spawn. From here, CTs can throw nades towards Outside.
You can also read our article on CT and T sided CS2 maps. Learn which maps favor Counter-Terrorists or Terrorists for ultimate strategic advantage.
Nuke Callouts in Action
At first glance, Nuke might look like a confusing maze of vents, ladders, and oddly placed doors. However, like many maps, Nuke requires you to practice. It’s a map that doesn’t just reward good aim; it rewards clear thinking, smart communication, and knowing how to move as a unit. Knowing Nuke callouts makes you a better teammate and a smarter player. Although the map seems large at a first sight, there aren’t so many callouts on it. So, don’t treat callouts like homework—think of them as tools. The more fluent you get, the more freedom you have to improvise, support your team, and actually enjoy Nuke for what it is: one of CS2’s most dynamic, layered maps.