Inferno is one of the most iconic maps in Counter-Strike 2, known for its strategic depth, intense mid-fights, and crucial bombsite control. If you’ve ever played Inferno, you know how chaotic it can get, especially when you’re trying to give callouts in the heat of the moment. Maybe you don’t know what a particular location is called at all, causing your info to turn into “There, here, right, left”. Little things like this can make the difference between winning and losing a round. That’s why this guide exists. We’re listing every key area of Inferno, covering A Site, B Site, Mid, and other crucial spots. If you haven’t played Inferno much, or don’t know some callouts, this guide offers you all the Inferno callouts and the interactive map! Let’s begin!
Inferno Callouts: The Essential Breakdown
Inferno is one of the most legendary maps in Counter-Strike history. Since 2001, this map has appeared in every part of Counter-Strike. Set in a European village with cobblestone streets, rustic buildings, and a warm Mediterranean air, Inferno offers an elaborate map where every angle and corner counts. The map features two bomb sites—A and B—connected by a network of alleys, apartments, and open courtyards.
One of Inferno’s most defining characteristics is its narrow pathways that force intense engagements. Both casual and professional play will find the map a favorite since its design promotes a mix between forceful moves and meticulous, slow-paced techniques. From famous plays to unforgettable clutches, Inferno’s long legacy in professional Counter-Strike makes it among the most beloved and demanding maps in CS2. Also check out our guide on Dust 2 callouts in CS2 and become a pro at some of the most legendary maps.
Inferno A Site
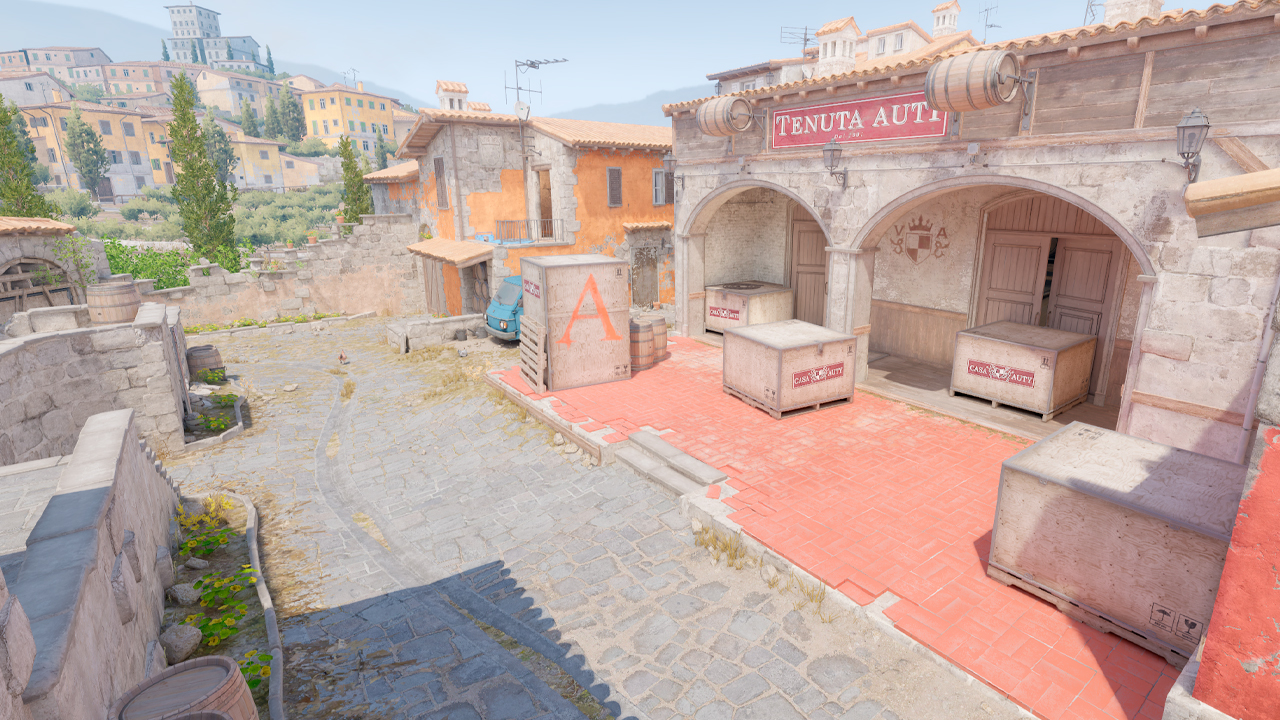
A Site on Inferno is all about crossfires, post-plant positioning, and clearing out defenders hiding in deep corners.
- A Site: The standard bomb plant area at A.
- Back Site: The closed part of the A Site where CTs or Ts can hide behind boxes in post-plant situations.
- Pit: This is a prime spot for defending A Site. Players can crouch behind cover, peek at enemies pushing from Short or Balcony, and delay bomb plants.
- Graveyard: The sneaky spot right next to Pit. Perfect for defenders looking to surprise attackers as they push onto the site.
- Cemetery: The large stone wall that CTs often hide behind when controlling A Site.
- Balcony: Overlooks Pit and A Site. The common entry point for T-side players coming from Apartments.
- Apartments (Apps): The series of small rooms leading to Balcony, the key entry point for attacking A Site.
- Short: The tight passage connecting Mid to A Site. A must-know callout for fast executes.
- Long: The extended path from Mid, leading to Arch and Library.
- Library: The rotation point for CTs, providing vision toward A Site.
- Kitchen: The room between CT Spawn and Library.
- Moto: The small ledge between Library and A Site, often used as cover for defenders.
Inferno B Site
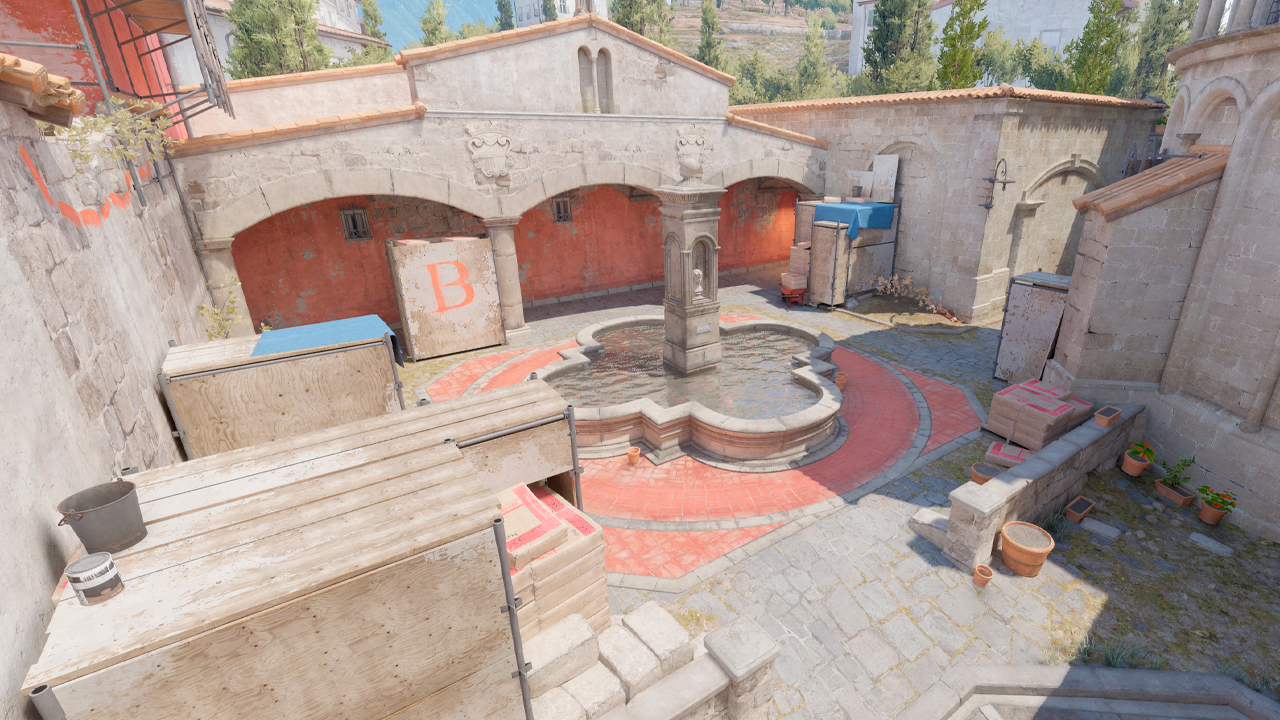
B Site is a defender’s dream if held correctly, but a nightmare to retake if the T-side executes properly.
- B Site: The standard bomb plant area at B.
- Banana: The long, curved path leading from T Spawn to B Site. Heavily contested during the early round.
- Logs: The small corner on Banana, near T Ramp, that allows for fast pushes.
- Sand Bags: Positioned on Banana, often used for holding aggressive angles.
- Car: The position along Banana, providing cover for defenders trying to hold mid-round control.
- Coffins: The defensive spot at the back of B Site, near the bomb plant zone.
- First Oranges (1st): The stack of boxes on B Site that players use for cover.
- Second Oranges (2st): Another box stack close to the bomb site, often checked by attackers during executes.
- Fountain: The center of B Site, where players often take cover while planting the bomb.
- Dark: The tucked-in corner at the back of B Site, great for surprise plays.
- Temple (Constructions): The area near CT Spawn leading toward B Site, often used for retakes.
Inferno Mid
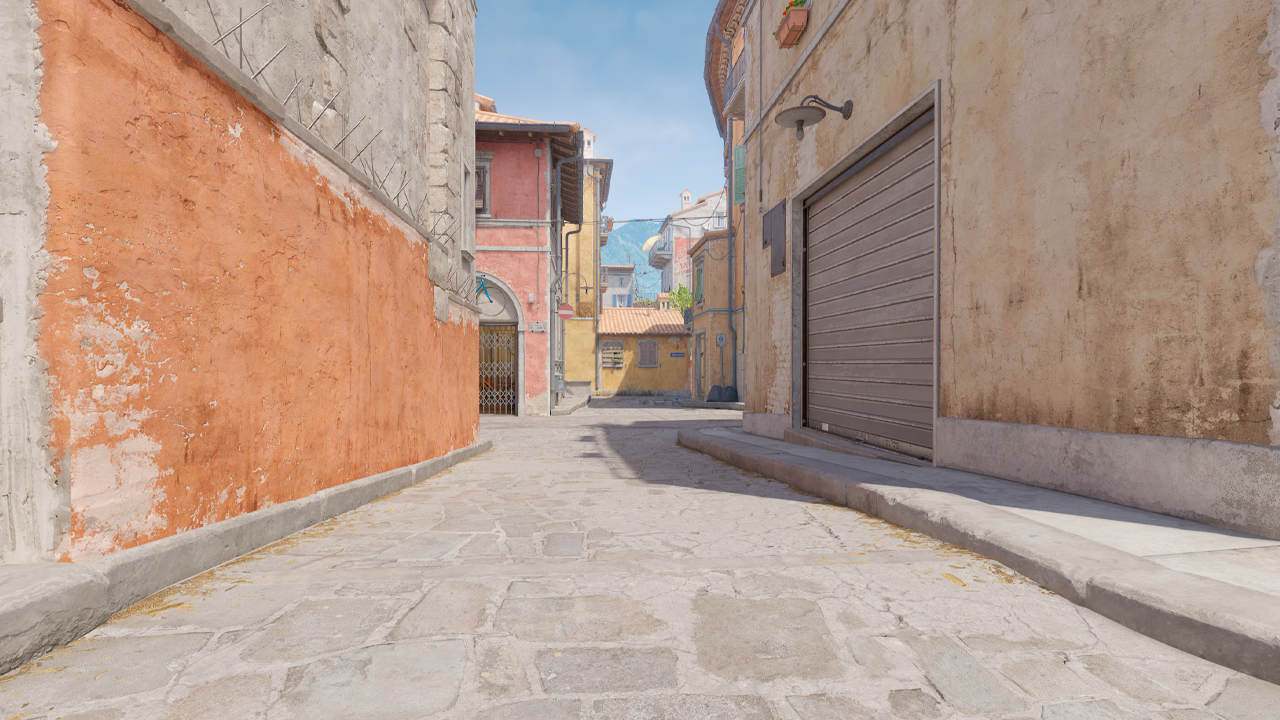
Mid control on Inferno can dictate the pace of the round. Here, as on many other maps, the CT and T sides engage directly.
- T Ramp: The starting point for Ts, leading toward Mid or Banana.
- Mid: The central area of the map crucial for CT control.
- Top Mid: The position behind the A Site through which you can go either Short or Long.
- Second Mid (Alt Mid): The parallel route to Mid, giving attackers an alternative way to approach A Site.
- Bottom Mid: The side of the middle which is closer to T Spawn.
- Underpass: The small tunnel that connects Second Mid to Mid. Great for sneaky plays.
- Boiler: The room connecting Apartments to Mid. A great position for picks.
- Bridge: The narrow exposed bridge from which you can jump down to Second Mid or walk towards T Apps.
- T Apps: The apartment building which runs along the bottom side of Second Mid.
Other Key Inferno Callouts
Besides the bombsites and Mid, there are other callouts you should learn to improve your Inferno gameplay.
- T Spawn: The Terrorist starting position.
- CT Spawn: The Counter-Terrorist starting position.
- Arch: The rotation area that connects Mid to Library and CT Spawn.
- CT Boost: The position that requires a teammate’s help to reach, often used to catch enemies off guard.
- Speedway: The narrow passageway from Arch to the B Site side, which is generally used by CTs.
You can also read our article on CT and T sided CS2 maps. Learn which maps favor Counter-Terrorists or Terrorists for ultimate strategic advantage.
Level Up Your Inferno Skills
Inferno is one of the most balanced and dynamic maps in CS2, and that’s exactly why it remains a staple in both casual and pro play. CS2 is all about teamwork, and Inferno is a map that thrives on precise communication, smart positioning, and calculated utility usage. Think about those moments when your team is scrambling on a retake, and someone yells, “He’s behind the box!”—but which box? The one on B site? The one at Mid? Or maybe it was Oranges? That kind of ambiguity can ruin an otherwise well-executed match. That’s why giving info in CS2 is an integral part of teamwork. Thus, keep in mind that the more you play, the more you’ll recognize how minor things can change the course of a game. Good luck!


![kyousuke CS2 Settings: Full Guide [2025]](https://skin.club/community/wp-content/uploads/2025/08/Main-x-Name.jpg.webp)