Counter-Strike has been popular for more than 20 years. Players worldwide value its unique gameplay and the possibility to compete in exciting online and offline battles. The gaming process is full of essential aspects known for the most experienced players. Using the CS2 console commands can customize your gameplay to your exact needs. From boosting your FPS to perfecting your crosshair for headshots, there’s a command for nearly everything. In this article, we will cover the most essential commands for adjusting your HUD, boosting your performance, debugging game elements, and even rebinding the console key to make your CS2 experience more user-friendly. Ready to take control? Let’s dive into the full list of commands and their applications.
Why Do Players Use Commands at CS2 server?
The CS2 players use the community maps for different purposes. The most regular are training skills and game understanding and having fun with a custom lobby. The server for individual playing can be created at the available matchmaking maps or their specific variations. The most popular competitive maps are Dust II, Inferno, Mirage, Nuke, Overpass, etc.
Also, players can download custom community maps from the steam market to play on them. They include unique in-game interactives, even connected with the other gaming modes. Most community maps are related to the Valve custom game structure. However, to play on them with friends and set suitable options, specific CS2 console commands are required.
The Most Popular Commands for CS2 Server
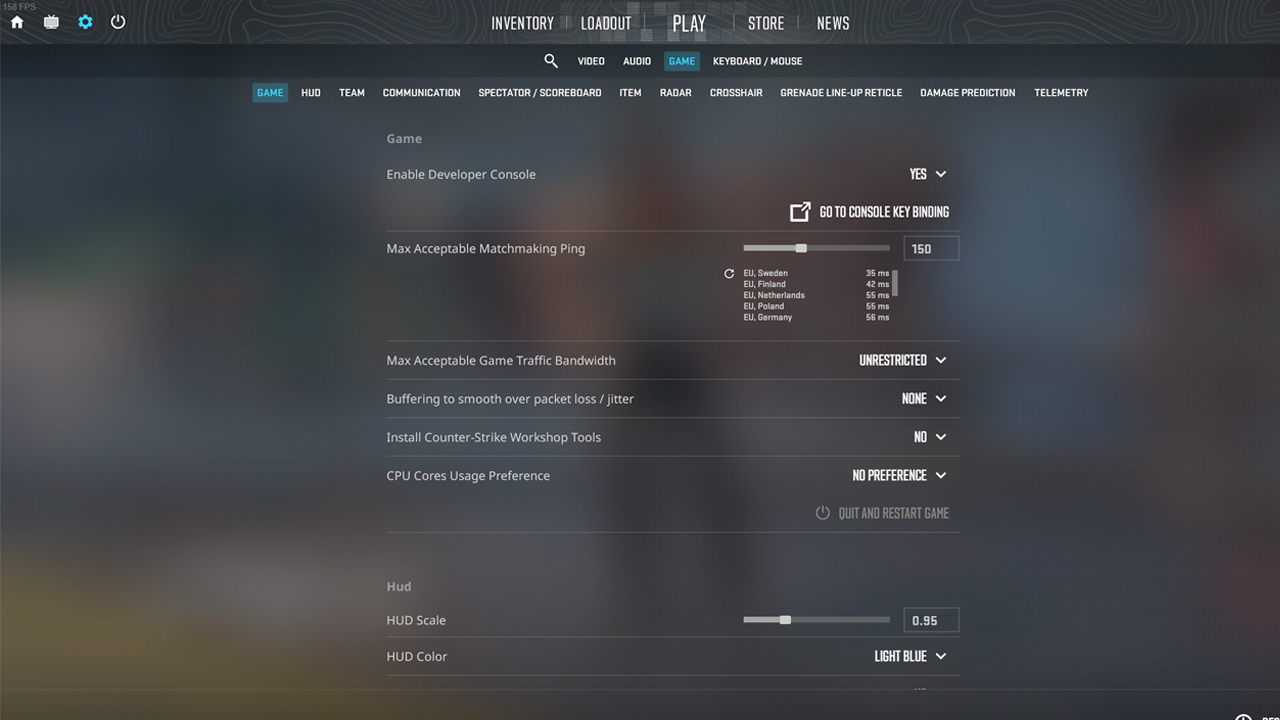
Each of CS2 console commands start with a unique beginning, separated from the main text by an underscore. There are many commands, so we outlined only the most relevant.
Rebinding Console Key
By default, the console key is bound to the tilde (~) key, but this may not be convenient for everyone. Luckily, rebinding this key is simple.
Steps to Rebind the Console Key:
- Open the Settings menu in CS2.
- Go to the Keyboard/Mouse section.
- Scroll down to find the option labeled Toggle Console.
- Click on it and press the key you want to assign to opening the console.
Alternatively, you can use a command to rebind the console key through the console itself:
- bind [new key] toggleconsole – Rebinds the console to a different key. For example, entering bind F1 toggleconsole would assign the F1 key to open the console.
Customizing HUD and Crosshair
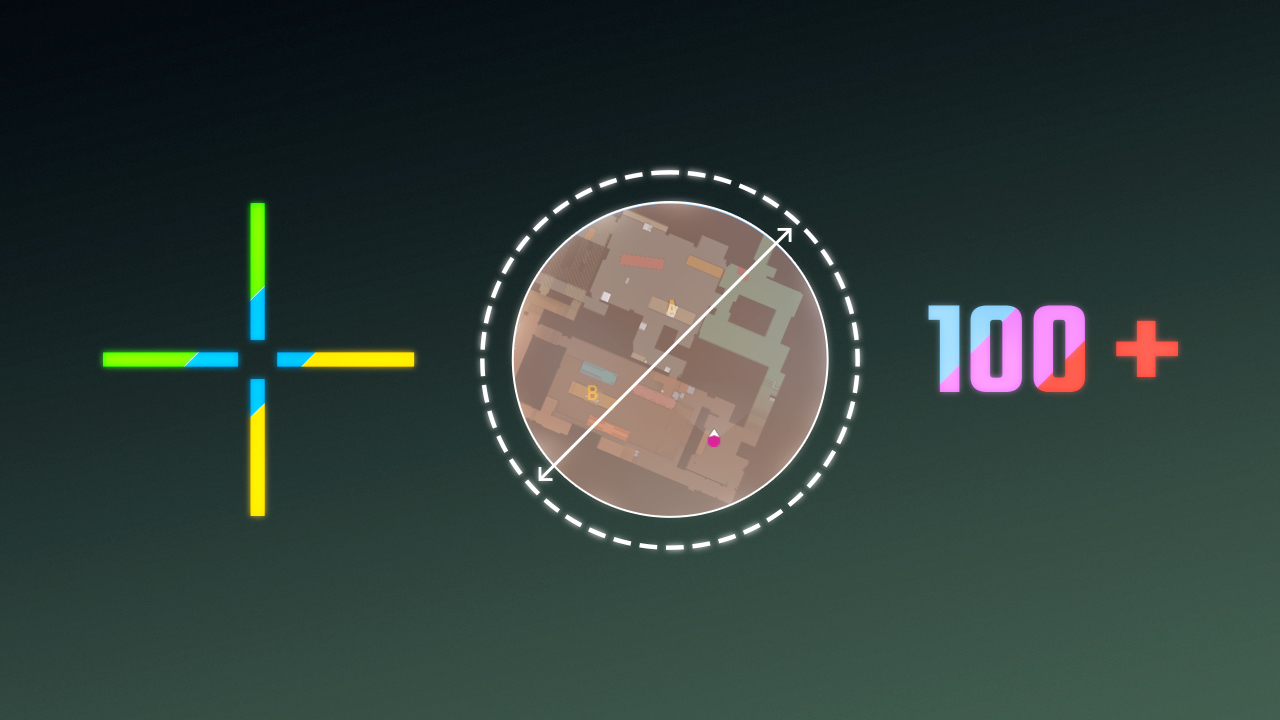
The heads-up display (HUD) and crosshair are two of the most important elements in your visual interface while playing CS2. The default settings might work for some players, but for many, a customized setup can improve focus and accuracy. Here’s how you can tailor them to your liking using CS2 console commands:
Crosshair Commands:
- cl_crosshairsize [value] – Adjusts the size of your crosshair. A smaller crosshair can help with precision aiming, while a larger one might be more visible in fast-paced situations.
- cl_crosshaircolor [value] – Sets the color of your crosshair. You can pick any number between 1 and 5, where each number corresponds to a color:
1 = Red
2 = Green
3 = Yellow
4 = Blue
5 = Cyan
- cl_crosshairgap [value] – Modifies the gap between the crosshair lines. Tightening the gap can help with precision, while a wider gap may feel more natural for spray control.
- cl_crosshairstyle [value] – Changes the crosshair style to suit your preference. You can choose from static, dynamic, and classic styles, among others.
Also discover optimal CS2 crosshair codes for any player & settings used by pros for precision aiming in 2025. Make more headshots with expert configurations.
HUD Commands:
- cl_hud_color [value] – Changes the color of your HUD. Choose from a range of preset colors to suit your visibility needs.
- cl_hud_radar_scale [value] – Adjusts the size of the radar on your HUD. A larger radar may help you stay more aware of your surroundings, while a smaller radar gives more screen space.
- cl_hud_playercount_showcount [0/1] – Toggles the display of the number of players left on each team.
- cl_showloadout [0/1] – Turns on or off the loadout display in the bottom right corner of the HUD.
You may also be interested in our guide on how to hide or change hud in CS2.
Performance Optimization Commands
These commands can help you tweak everything from graphics quality to network settings, ensuring that your game runs as smoothly as possible. Here are the top performance-related commands:
FPS and Graphics:
- fps_max [value] – Sets a cap on your frame rate. A value of 0 uncaps the frame rate, allowing the game to run at the maximum your system can handle. Setting it to 60, 120, or 144 can help stabilize performance on lower-end systems.
- mat_queue_mode [value] – Controls how the game utilizes your CPU cores. Setting it to “2” enables multithreading, which can significantly boost FPS.
- cl_forcepreload [0/1] – Forces the game to preload all assets at the beginning of a match, reducing potential lag spikes mid-game.
- r_dynamic [0/1] – Disables or enables dynamic lighting. Turning it off can lead to a noticeable performance boost.
Read our guide on how to increase FPS in CS2. Learn how to optimize your settings and hardware for maximum performance in 2025.
Network and Input:
- cl_interp [value] – Determines how much time to interpolate between the server’s updates. Lower values provide faster, more accurate hit registration, but if set too low, it can cause stuttering.
- rate [value] – Controls your internet data rate for receiving game information. Setting it to a higher value like 128000 improves performance on high-speed internet connections.
- cl_cmdrate [value] – Adjusts the number of times per second your client sends information to the server. Setting it to 128 matches the server tickrate, offering smoother gameplay.
- cl_updaterate [value] – Adjusts how frequently your game receives updates from the server. Like cmdrate, set this to 128 for optimal performance.
Learn how to optimize CS2 for low-end PCs with simple tweaks and settings adjustments. Our guide will help you achieve smooth gameplay and better performance, even on budget hardware.
Debugging and Testing
CS2 has a suite of commands built specifically for developers and testers, but these can also be helpful for everyday players looking to troubleshoot or refine their performance.
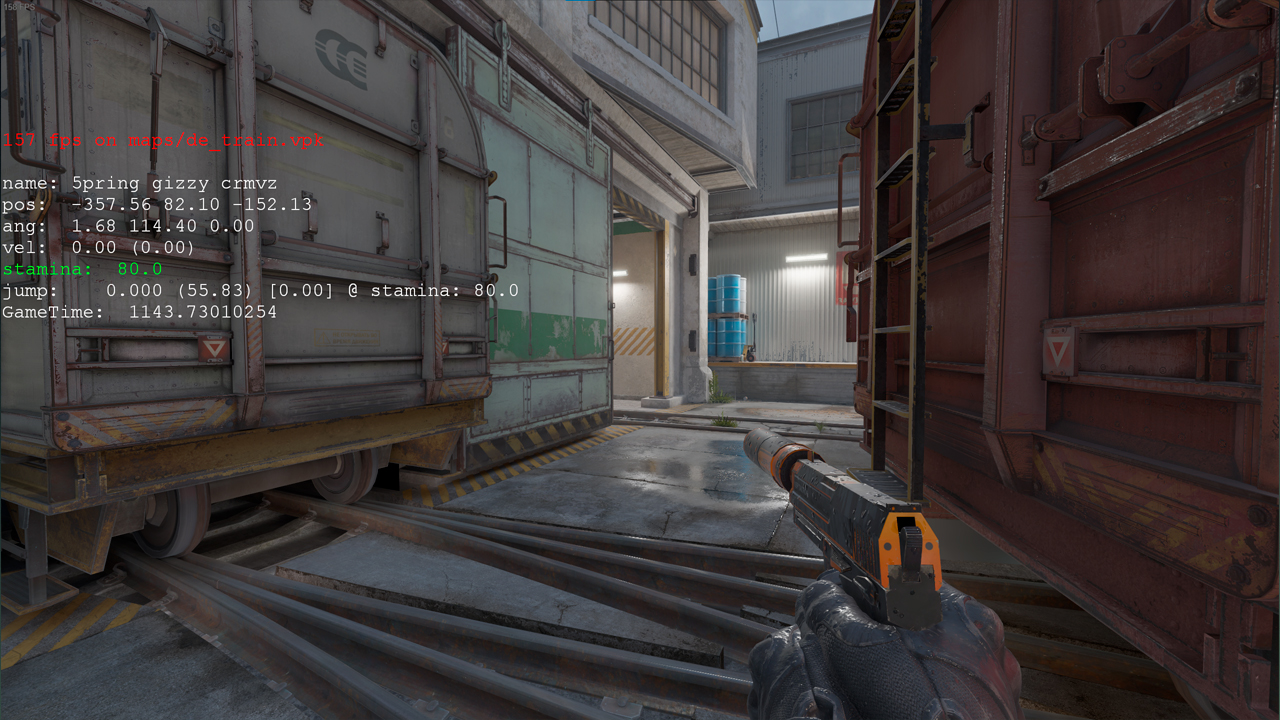
- cl_showfps [1/0] – Enables a simple FPS counter in the top left corner of your screen.
- cl_drawhud [0/1] – Disables or enables the HUD entirely. Useful for capturing screenshots or focusing purely on gameplay elements.
- cl_showpos [1/0] – Displays your current position, speed, and angles on the screen. Great for movement practice and understanding in-game mechanics.
General Commands to Maintain the CS2 server
These commands allow setting the necessary parameters for a suitable gaming process. The commands are the following:
- mp_warmuptime 1000 – the time to play without starting the round count.
- mp_freezetime 0 – remove the freeze time at the beginning of the match.
- mp_warmup_end – the command to finish the warmup.
- mp_roundtime 20 – setting up the time for rounds.
- mp_maxrounds 20 – setting up the number of rounds.
- bot_add_ct (t) – adding bots to one of the teams.
- bot_kick – removing all bots from the server.
- mp_buy_anywhere 1 – allows players to buy weapons throughout the map.
- mp_restartgame 1 – to restart the server.
Read our guide and learn how to set up and launch a dedicated CS2 server, perfect for hosting games with friends.
Mouse Sensitivity
These commands for CS2 server set the necessary parameters for convenient sensitivity of the playing device:
- sensitivity 1.5 – choose a suitable number for the sensitivity.
- m_pitch 0.022 – determines the mouse inversion.
- m_customaccel_scale 0.1 – settlement of the acceleration indicator.
- m_mouseaccel1 0 – accelerates the mouse twice.
- m_side 0.3 – to regulate the movement sensitivity.
Adding these parameters to your server helps maintain the movement of your hero and avoid inconveniences at aim and shooting. We also have a comprehensive guide on a mouse sensitivity.
Weapon Commands
They allow you to get the necessary weapon instantly. The commands are similar, and only the last words differ in them:
- give weapon_p250.
- give weapon_nova.
- give weapon_awp.
- give weapon_hegrenade.
- give weapon_ak47.
To get the equipment, you need to type “give item”. For instance, “give item_vesthelm” to get the helmet and the cevlar.
Cheats
For sure, these commands are used for fun and don’t help to train the skill correctly. To maintain the most common cheat options, you need to do the following:
- sv_cheats 1 – turns on the cheat function.
- god – the player is immortal and can’t be hurt.
- drawothermodels 2 – allows you to look through the walls and see other players’ textures.
- noclip – allows flying throughout the map.
If you want to know more about CS2 cheats and how to use them, check our guide.
Mastering the CS2 Console Commands
In the world of CS2, knowledge is power, and understanding the console commands empowers you to take control of your gaming experience. This comprehensive list provides you with the tools to fine-tune and customize every aspect of your gameplay. Whether you’re a seasoned player or just getting started, these commands offer a new level of flexibility and personalization. So, dive into the realm of CS2 with confidence, equipped with the command knowledge to enhance your gaming journey.


