If you’re a CS2 player who’s serious about optimizing performance or just tired of tweaking your settings every time you open the game, config files are your new best friend. These handy files let you save all your customized settings in one place and ensure everything is ready to go as soon as you launch the game. In this guide, we’ll tell you everything about CS2 config files, showing you how to create them, where to find them, and how to use them to make your gameplay as smooth as possible. We’ll also cover how to set up your own personalized binds to automate commands with autoexec files. Let’s get started!
What is a CS2 Config?
A CS2 config file is essentially a plain text file that stores a set of console commands. These commands automatically execute when you start the game, saving you from having to manually input them each time. Config files are highly customizable, allowing players to adjust settings like mouse sensitivity, graphics performance, HUD layout, and much more.
Typically, players create their own config files to optimize their gaming experience, from performance tweaks to specific binds that make gameplay more efficient. You can create multiple configs for different setups, like a config for competitive matches and another for casual play.
Where is the CS2 Config Located?
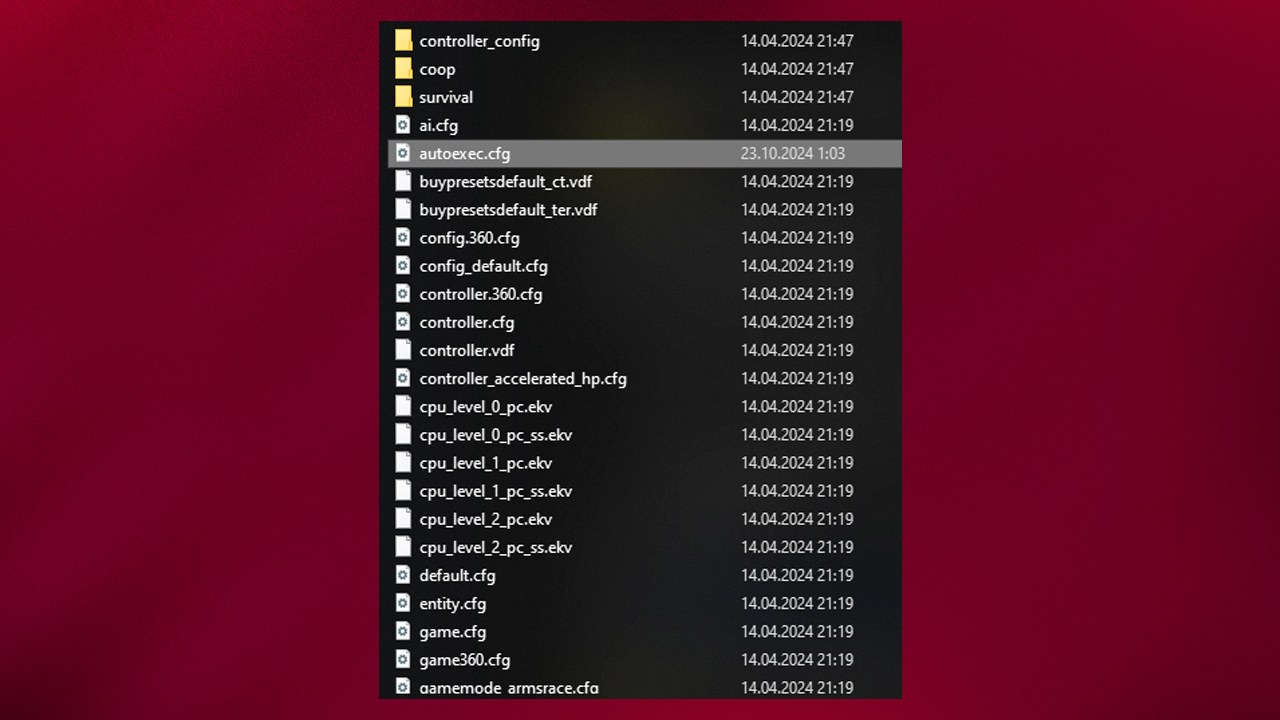
To use or edit a CS2 config, you need to know where the config files are stored. CS2 config files should be placed in a specific directory within the Steam folder. Follow this path to locate your CS2 config folder:
- Open File Explorer.
- Navigate to your Steam folder (usually found at C:\Program Files (x86)\Steam\).
- Follow this path: steamapps\common\Counter-Strike 2\game\csgo\cfg\.
Once you’ve reached the folder, you will find the default config files along with any custom configs you’ve created. You can also back up this folder or share your config files with others by simply copying these files.
How to Create Config Files in CS2
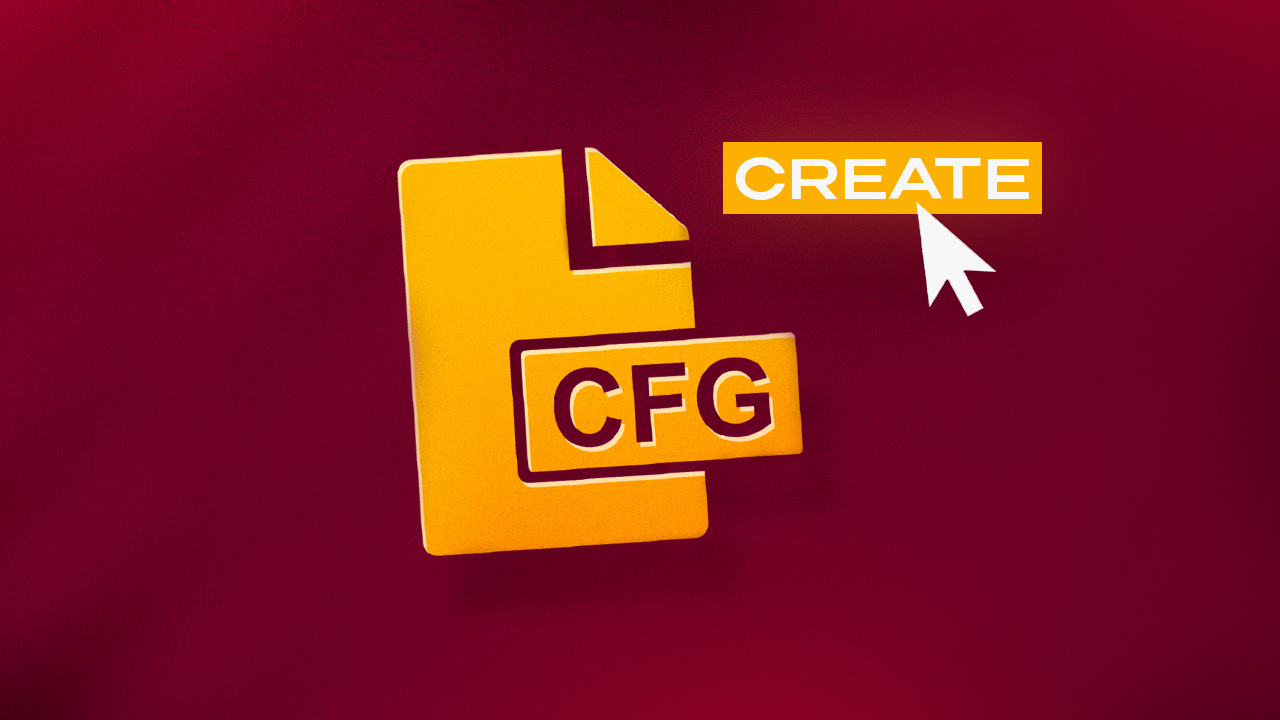
Creating your own CS2 config is simple and can be done with any text editor. The most popular choice is Notepad, but you can use more advanced tools like Notepad++ if you prefer.
- Open a text editor.
- Write the console commands you want to include in the config. For example, you might want to include commands to change your crosshair, adjust viewmodels, or set your mouse sensitivity.
- After writing your commands, save the file with a .cfg extension (e.g., myconfig.cfg).
- Ensure the file type is set to All Files in the Save As menu, so the extension is properly applied.
- Move the file to the CS2 config folder (C:\Program Files (x86)\Steam\steamapps\common\Counter-Strike 2\game\csgo\cfg\).
Example of a simple config:
- cl_crosshairsize 3
- cl_crosshaircolor 5
- sensitivity 1.5
This will set your crosshair size, color, and mouse sensitivity automatically whenever the config is executed.
How to Execute CS2 Config Files
To run your CS2 config, you have a couple of options. The easiest way is to manually execute it through the in-game console. Here’s how to do it:
- Launch CS2 and enable the developer console from the settings menu.
- Open the console by pressing the ~ key.
- Type exec myconfig and press Enter. This will execute the commands in your config file.
Another option is to add your config file to the game’s launch options so it runs automatically every time you start CS2:
- Open Steam.
- Right-click on Counter-Strike 2 in your Library.
- Select Properties.
- In the General tab, locate the Launch Options section.
- Add this command: +exec myconfig.cfg.
Autoexec CS2 Config Files
For even more automation, you can create an autoexec.cfg file. This special config file runs automatically every time you start CS2, ensuring that essential settings are always applied without you having to do anything.
Here’s how to set up an autoexec file:
- Open Notepad or any text editor.
- Add all your preferred console commands.
- Save the file as autoexec.cfg in the CS2 config folder.
- Add this line at the end of your autoexec file to ensure it executes properly: host_writeconfig.
After saving the file, CS2 will automatically load it every time the game starts, applying your customized settings.
Also learn how to jump throw in CS2 without using a bind in our full guide. Master the technique with this full guide!
How to Set Up CS2 Binds
Setting up binds in CS2 allows players to streamline actions by assigning commands to specific keys, making gameplay faster and more efficient. The concept behind binds is simple: you can assign multiple actions to one key, ensuring quick execution of key game elements like utility throws, weapon purchases, and communication commands. Here’s how to set up some popular binds in CS2.
To bind a command to a key, use the following format in your CS2 config or console:
- bind “key” “action”
Popular Binds
Bunnyhop (Bhop) Bind: Binding your jump to the mouse wheel makes bunny-hopping more effective.
- bind “mwheelup” “+jump”
- bind “mwheeldown” “+jump”
Unlock advanced movement with our full guide on mastering the Bunny Hop technique in CS2– elevate your gameplay with speed and precision.
Grenade Binds: Set up your grenades to specific keys for fast access.
- bind “F3” “slot7” // Flashbang
- bind “F4” “slot8” // Smoke grenade
- bind “F5” “slot6” // HE grenade
- bind “F6” “slot10” // Molotov/Incendiary
Want to streamline grenade usage in CS2? Explore our comprehensive guide on grenade binds in CS2. Learn how to set them up for precise and efficient gameplay.
Quick Switch Bind: For AWP users, this bind quickly switches between your weapon and knife after firing.
- alias “+qsw” “slot3”
- alias “-qsw” “lastinv”
- bind “g” “+qsw”
These binds are highly customizable and can be adapted to your playstyle. For example, you could create binds that allow for fast weapon purchases or quick adjustments during critical moments.
Config Files for the Win
With the possibility to change the CS2 config files in your hands, you’re no longer stuck with default settings or having to remember console commands every time you log in. From basic binds to advanced autoexec setups, you’ve now got the tools to completely customize your experience. Once you set everything up, it’s all hands-off. Your customizations load automatically, so you can focus on what really matters: improving your gameplay and training. Change your settings, test out new binds, and find what works best for you. The possibilities are pretty much endless, and you’ll be amazed at how much more efficient you feel in-game. Good luck!


![kyousuke CS2 Settings: Full Guide [2025]](https://skin.club/community/wp-content/uploads/2025/08/Main-x-Name.jpg.webp)